Introduction
Oftentimes people ask: what camera are you using for your underwater photography? When I reply that I’m currently employing a GoPro (Hero4 Black), almost invariably, the next question is: Oh, can the GoPro take good pictures underwater then?
So I thought I would put together a few points about underwater photography in general, and photography with a GoPro in particular. In this first article, we shall focus on camera settings. I hope you find this piece helpful – and should you have any questions, don’t hesitate to ask below in the comments section!
What features do we want in an underwater camera?
Before getting to the actual settings, I think it is apt to first first explain what makes a GoPro different from other kinds of cameras. Are you thinking about getting a GoPro to record your underwater adventures? Are you wondering whether it is the right tool for you? Apart from the most obvious requirement of the camera accepting an underwater housing of some sort to make it waterproof, what properties would be desirable in an underwater camera?
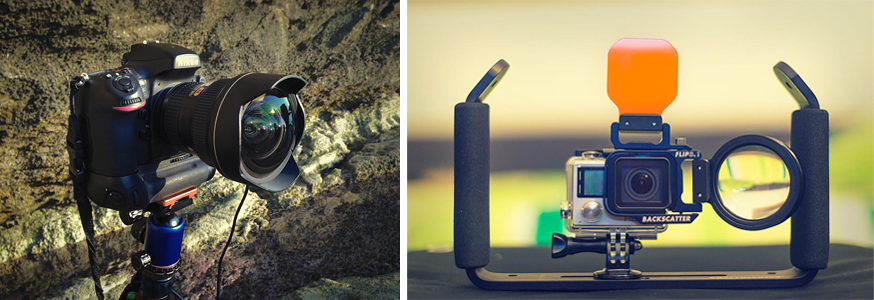
Some of these wished-for features are common with those that we would appreciate in a camera for topside (i.e. above water) use: a large format sensor with large pixels, the capability to use high ISO levels to be able to get detail in dark conditions, and the availability of fast, wide-angle lenses, to mention but only three. Well, there is a kind of camera that would tick all these boxes, and it’s called a digital SLR (or DSLR). The caveat: it’s large, it’s costly, and an underwater housing for a DSLR can be *very* expensive, often much more expensive than the camera itself.
So what if you wanted something small, less expensive and affordably waterproof? There are various options, two of which are: (a) compact cameras which can be put in a housing, and (b) sealed cameras (such as those made by Sealife). However, with these kind of cameras you are not going to get the same image quality as with a DSLR, and you’re also going to lose some of the advantages offered by DSLRs such as the possibility to use different lenses.
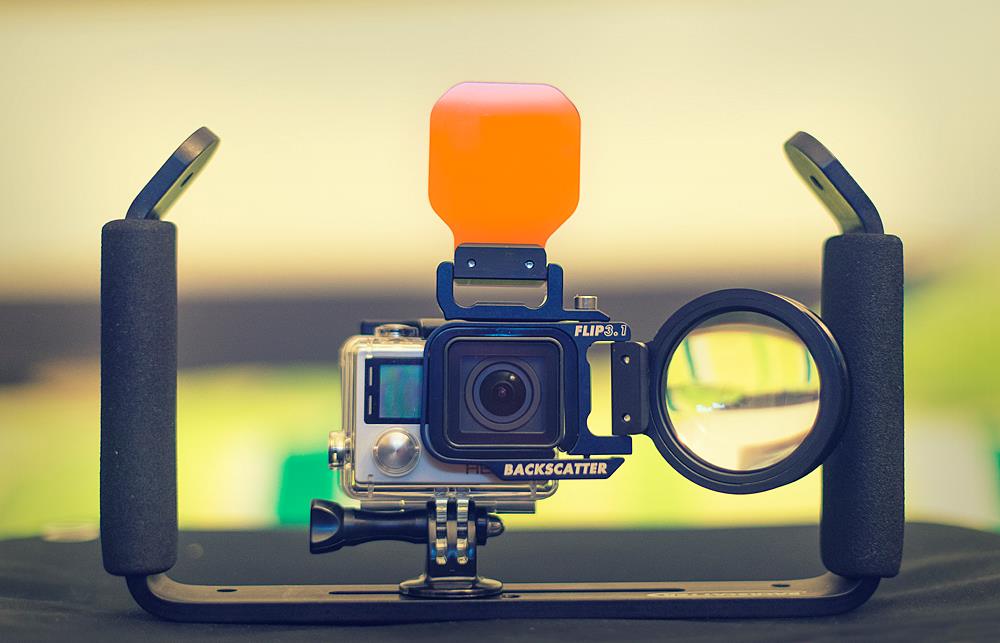
There is a third option: Action cameras such as the GoPro. (There exist other action cameras such as those made by Braun and Garmin to mention but two examples, but in this article we are going to focus on the GoPro.)

The same limitations of compact and sealed cameras discussed above also apply to action cameras such as the GoPro. The sensor is smaller than that of an SLR, ISO sensitivity is nowhere near as good, and consequently, image quality is not comparable. So why would one use a GoPro at all for underwater photography?
First off, as I’ve mentioned already, there’s cost and size. Secondly, you may use such an action camera for a wide variety of other sport activity apart from your underwater photography. Thirdly, the GoPro is a robust little thing that packs a lot for its size, including high quality 4K video. Indeed, it should mentioned here that GoPro cameras are first and foremost video cameras, and only secondly photography devices. That being said, if we inject some thought into our approach and use a GoPro wisely, we can squeeze quite a lot out of it. And that starts with knowing the correct camera settings to use. Let’s get going.
General Camera Settings
What settings are optimal for underwater photography with a GoPro? While some settings depend on the subject and conditions, there are a few that we can fix straight away. Please note that the following recommended settings apply mostly when using the GoPro for photography, not videography.

First off, I like to put the camera in Burst Mode. This means that upon pressing the button to take a picture, the GoPro will actually take a series of them in quick succession and will only stop once 30 pictures have been snapped… in just one second. Why is this useful?
Firstly, no matter how carefully you push the button, you’re going to introduce a level of shake to your camera, which results in blurriness in your photos. By holding the camera aimed at your subject after having pushed (and released) the button, you are ensuring that you have a series of subsequent photos not affected by this jerking motion.
Secondly, by taking a series of photos instead of just one, you might capture the scene at a more favourable instant. You will probably have noticed that taking pictures underwater can sometimes be quite challenging. Whilst on land you have your feet on the ground when taking pictures, when diving you are often floating in mid-water and thus unsupported. For this reason, you’re probably not perfectly static (which is why perfecting your buoyancy is very important). Your subject might also be moving, and you lose light the deeper you go, amongst a myriad other factors conspiring against you. Furthermore, you should constantly be monitoring yourself (and your buddy) and putting your safety first and foremost. With practice (buoyancy, buoyancy, buoyancy!) the whole process becomes much easier. However, the bottom line is that by taking multiple pictures, you increase the likelihood of nailing the shot.

Turning Protune on applies less compression to your images, giving you more latitude in post-production. It will give you a picture that is flatter, less punchy and not as sharp as usual. However, all this means that you have a wider dynamic range to play with once you open your image in your favourite editing software.

I normally leave the white balance on auto mode, as I find that the GoPro is very good at guessing the correct white balance setting on its own.

This setting tells the camera what is the highest ISO value you are willing to let it use. For my photography (i.e. photo mode), I have set this to the highest setting (800) which is also the default setting. A higher ISO setting will introduce more noise, but in my view it’s better to have a noisy image than a blurry one. (Note that in video mode, the ISO limit can be set to 6400. Individual frames will, of course, be very noisy.)
Specific Camera Settings
What follow next are settings that apply in specific situations (rather than in a general sense). Therefore, you’ll have to judge the scene and decide whether these apply or not in your case. Let’s take a look at some example settings that should be used in given situations.

The GoPro offers you the choice of evaluative metering whereby it assesses the required exposure basing on the entire frame, and spot metering. When is the latter suitable? Sometimes, in underwater photography we find ourselves taking a picture of a subject that is itself well lit but immersed in a darker environment, e.g. a diver in a dark cave where the diver is lit by a dive light. If your GoPro’s metering is set to ‘Spot’, and the spot trained on the subject, then the GoPro will pick an exposure properly tuned to your lit subject.

Sometimes, you want to darken or brighten a scene. You might not be happy with the assessment of the GoPro and would like to take some control. To understand this better, let’s consider the same example as above, namely a diver in a dark cave where the diver is lit by a dive light but the rest of the scene is darker.
If your GoPro’s evaluative metering is not set to ‘spot’ mode (with the spot trained on the lit subject), then it will try to judge the correct exposure from the entire scene. Since the scene is mostly dark, the GoPro is going to employ a long exposure time to collect more light since it’s “thinking” that its job should be to brighten up all that darkness. However, that’s not what you want. Your subject is sufficiently lit already. So how can you force your GoPro to bring the exposure down, given that we don’t have manual exposure control?
Unless you employ spot metering, the solution to your woes lies in exposure compensation, a.k.a. EV. Set this setting to a negative value. The larger this negative value is, the further down the camera notches the exposure. For instance, -2EV is darker than -1EV. For reference, if we dial in -1EV, that means that the exposure has been halved from what the camera judged it should be. If we dial in -2EV, we’re halving the exposure again (i.e. it’s now a quarter of what the camera thought it should be). And so on. Note that dialing an exposure compensation value can be used in any situation where the GoPro is judging the scene to be too dark (input a negative EV), or too bright (input a positive EV).
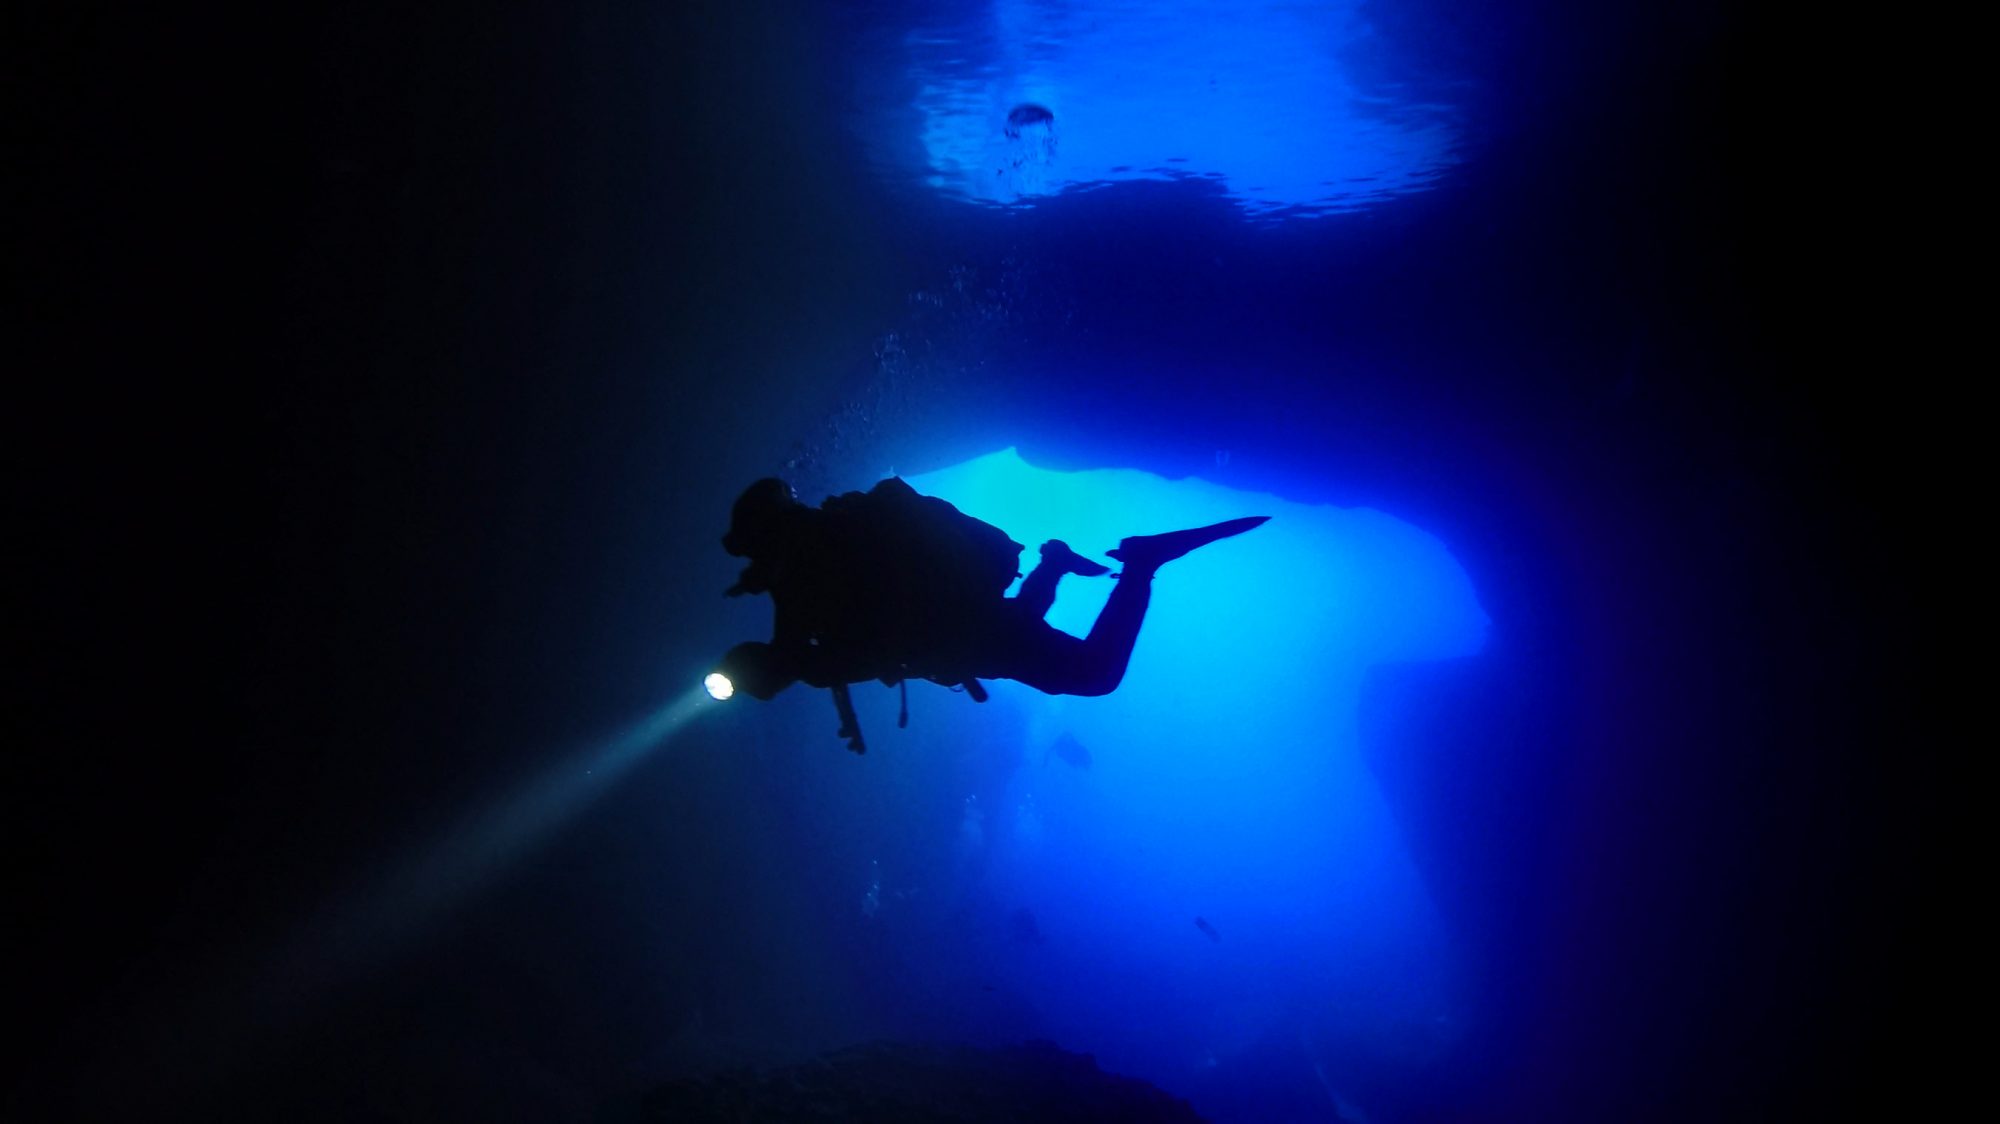
Trick of the trade: The GoPro only offers an exposure correction of +/- 2EV. Sometimes, we want to darken a scene more than this allows us. In such an eventuality, we have but one option left. Switch to video mode and use the highest resolution available, i.e. 4K. Then pull out a still from the video later on in post. The reason for doing this is that in video mode, the GoPro can “only do so much” to brighten up the scene since it has to move on and record the next frame. So each frame is darker than what would be the case were we to take a picture instead. You’ll lose some resolution (3840×2160 instead of 4000X3000) and bear in mind that if your ISO limit for video is set to 6400, each individual frame will be noisy, but it works. I regularly use this technique in dark tunnels and caves (e.g. see picture below).
You might rightly be asking: why go to all this trouble and not just use spot metering? This is a matter of practicality. Firstly, sometimes it might be difficult to aim the camera in such a way that the spot is trained on your lit subject. Secondly, there are occasions when you simply don’t have the time to fumble with settings underwater and you need to be ready to shoot. This is why I always prepare my GoPro to have -2EV dialed in before entering a cave or tunnel, for instance. It works especially well for silhouettes. Having said all this, if you find yourself in a situation where you have a well-lit subject and you have the time to comfortably change settings and use spot metering, then by all means do take your time to play around with this. You can even employ spot metering and EV compensation at the same time if you want to darken the scene further.

So that’s it for this post, folks. Those are the main settings I pay attention to when shooting underwater with my GoPro. I plan to cover some more topics about underwater photography with the GoPro, so stay tuned!

Thank you very much for detailed setting for underwater photo. Could you also write which settings you prefer to use for underwater video? Thanks in advance
Hi Alex, thanks for dropping by. Indeed I’ve had such an article in mind for quite a while, but I still haven’t got around doing it. As soon as I get some free time, I’ll start putting one together 🙂 Thanks again.